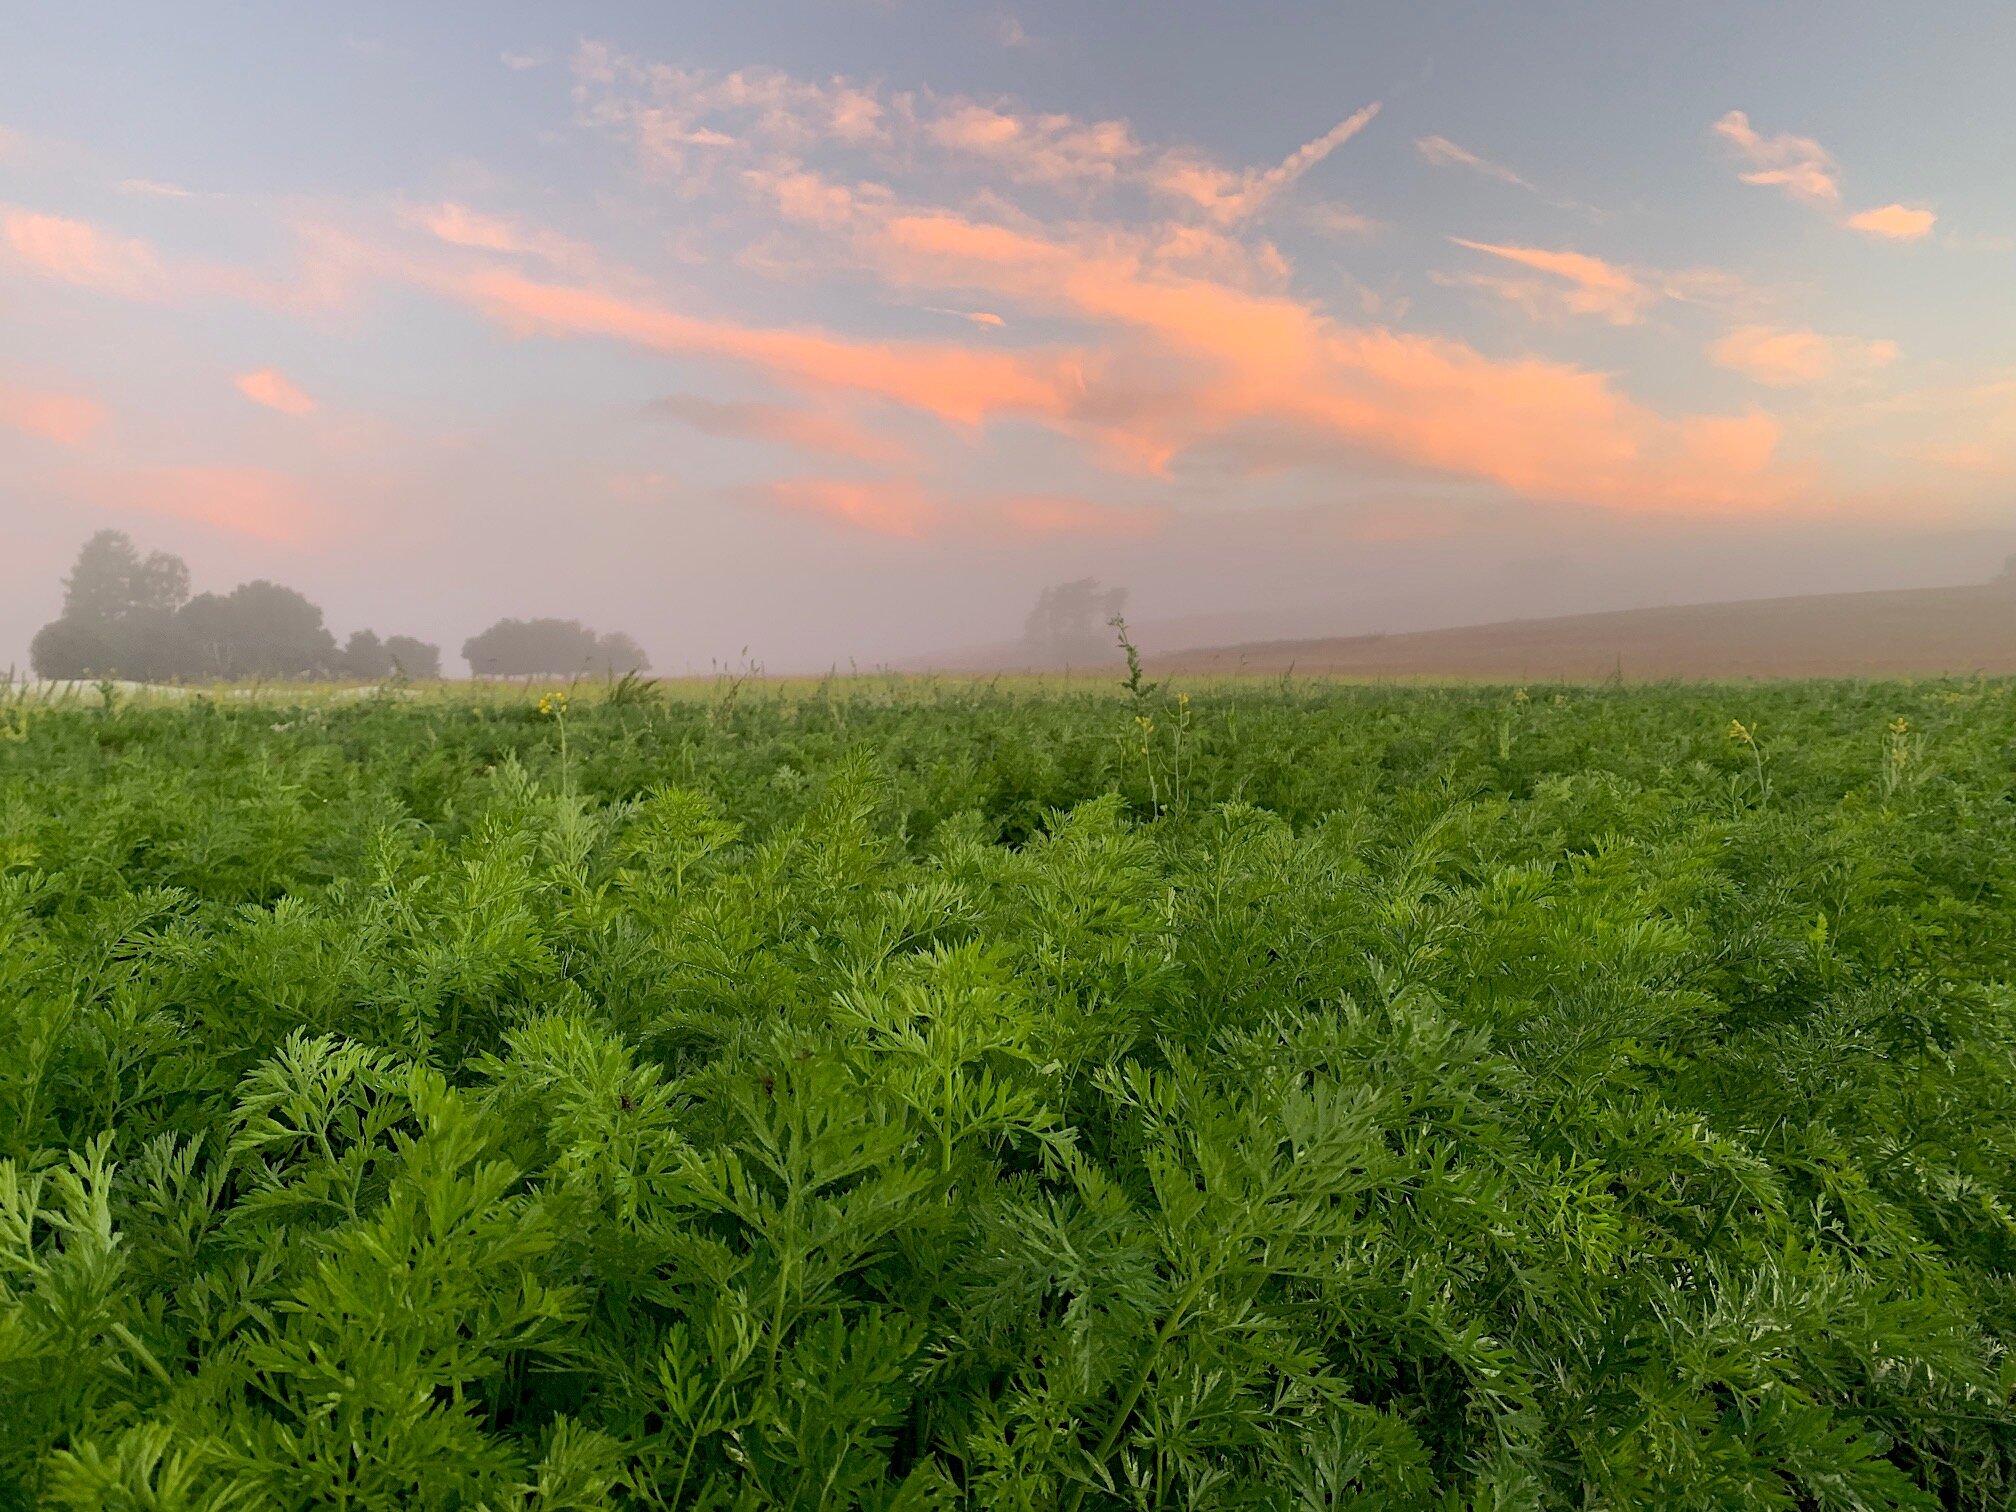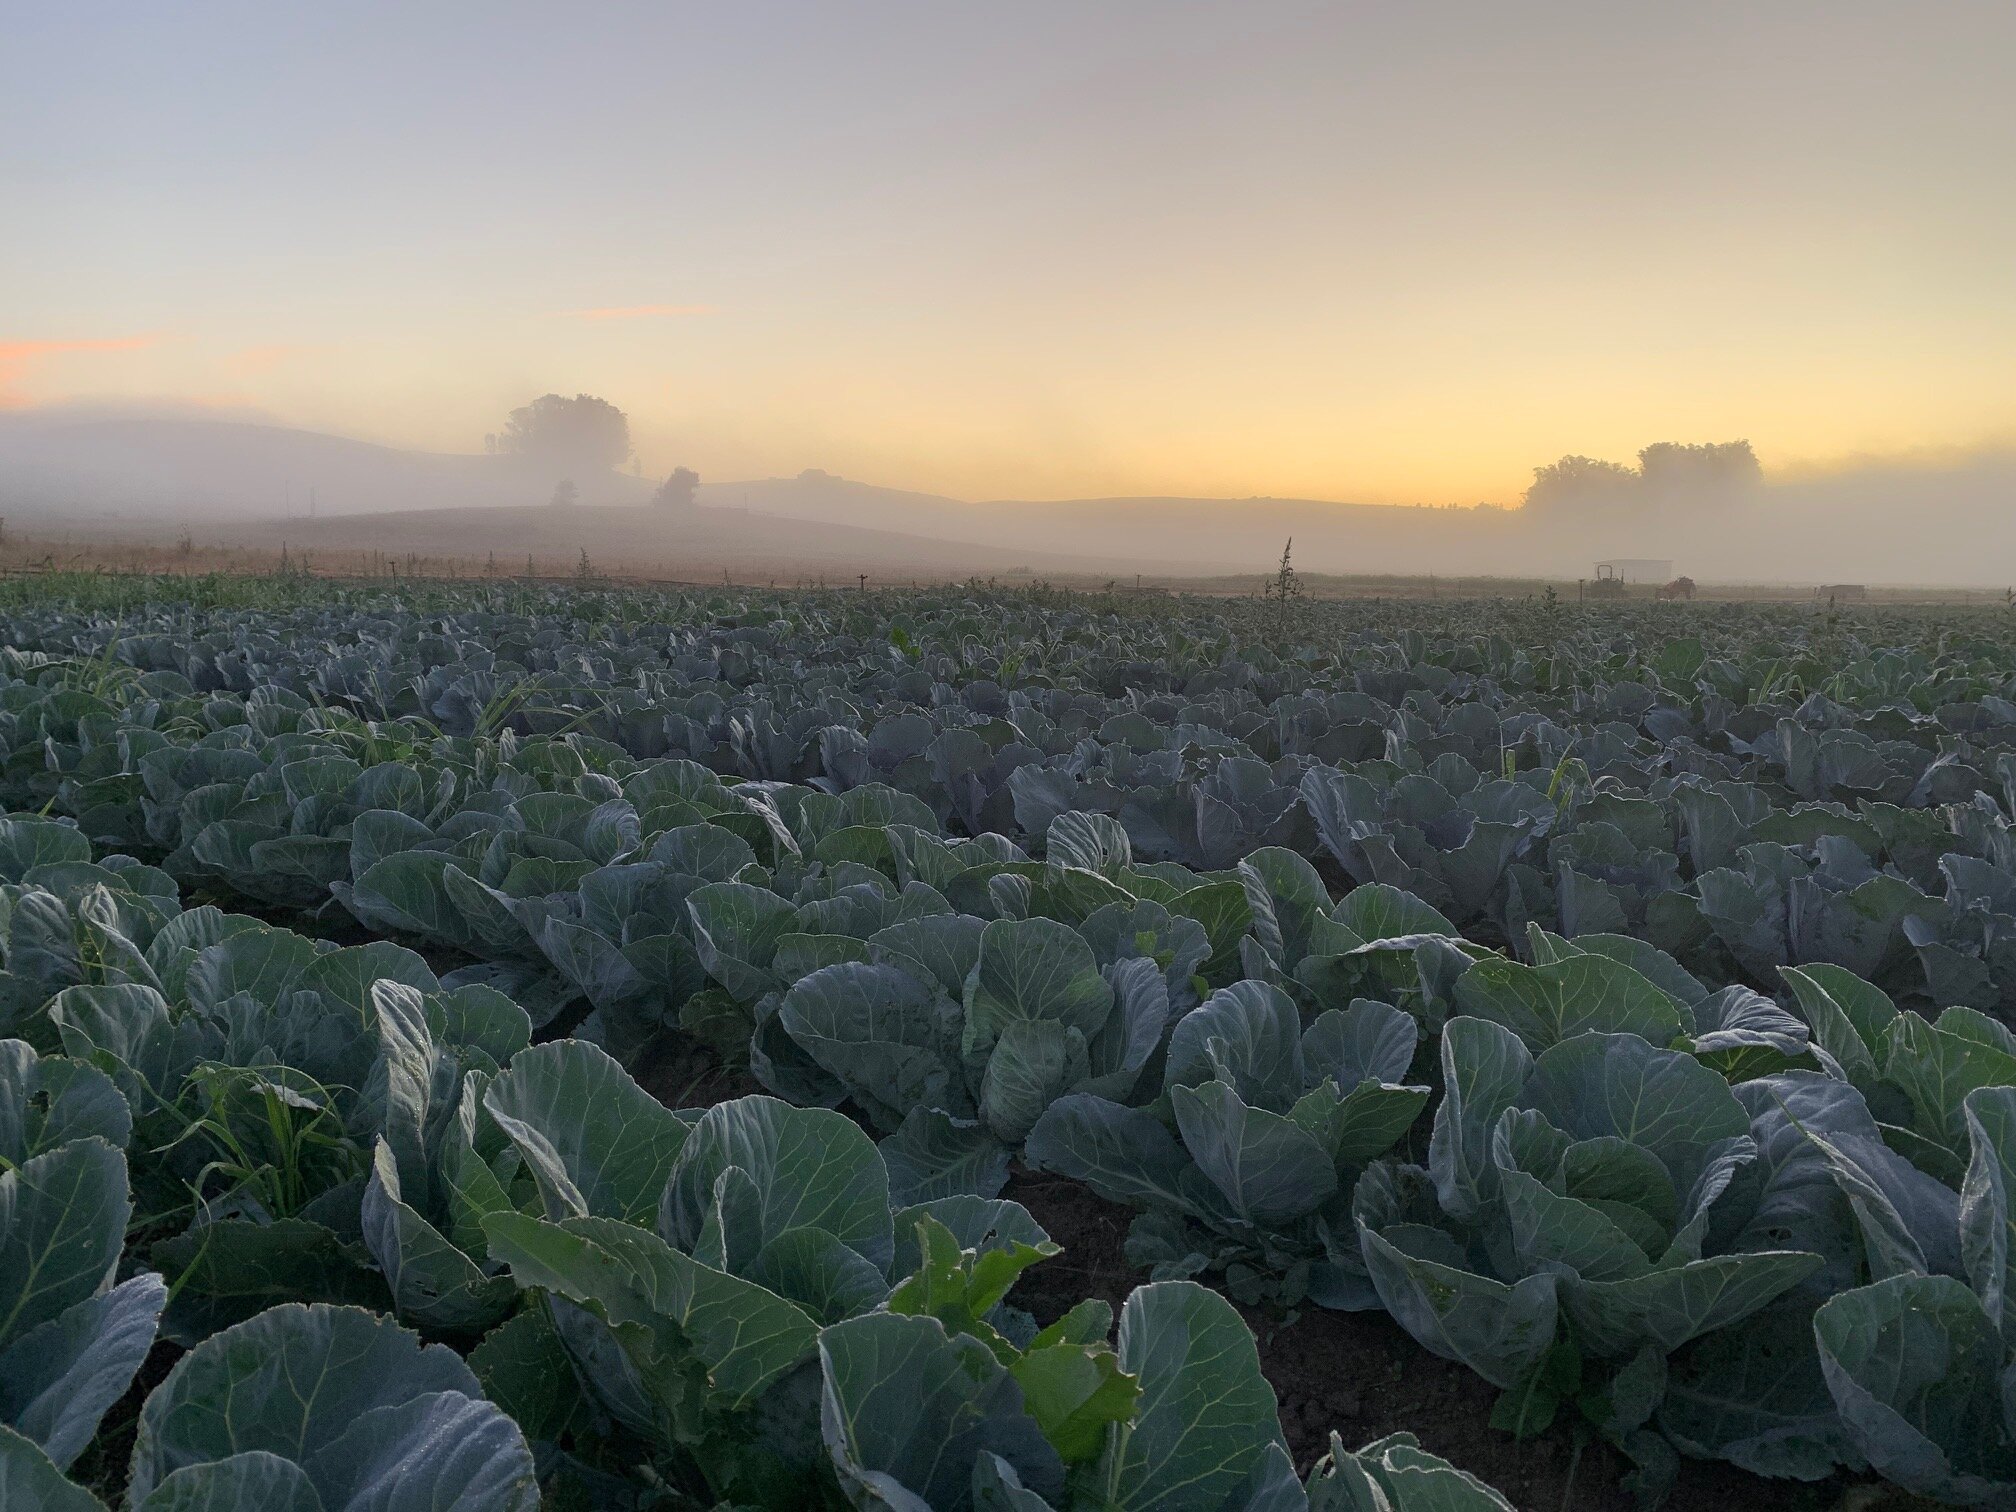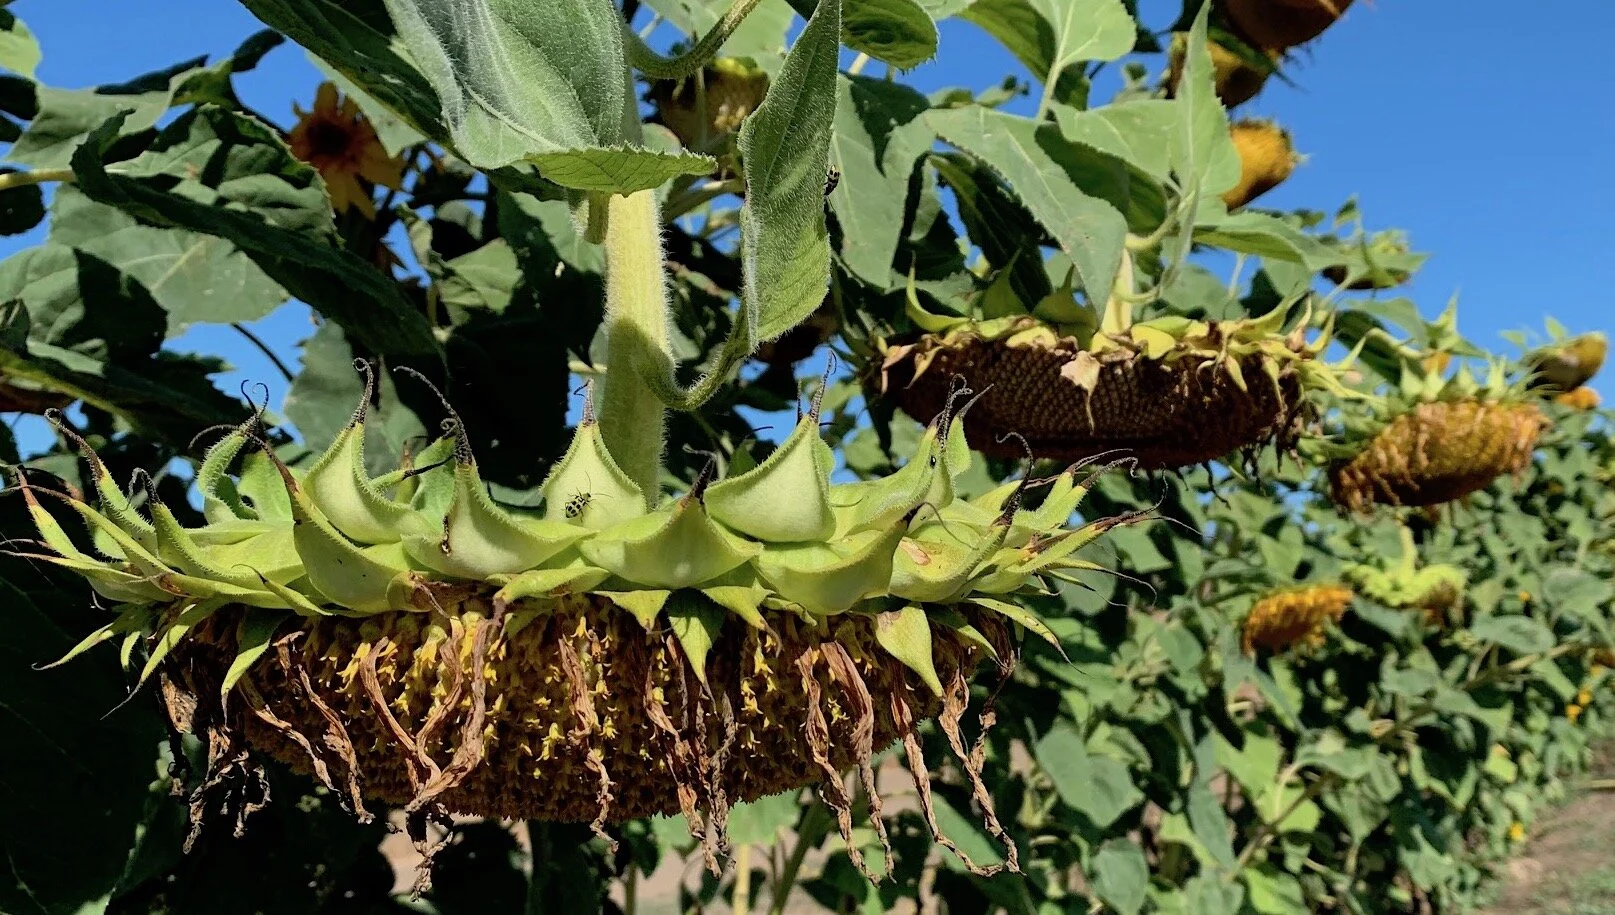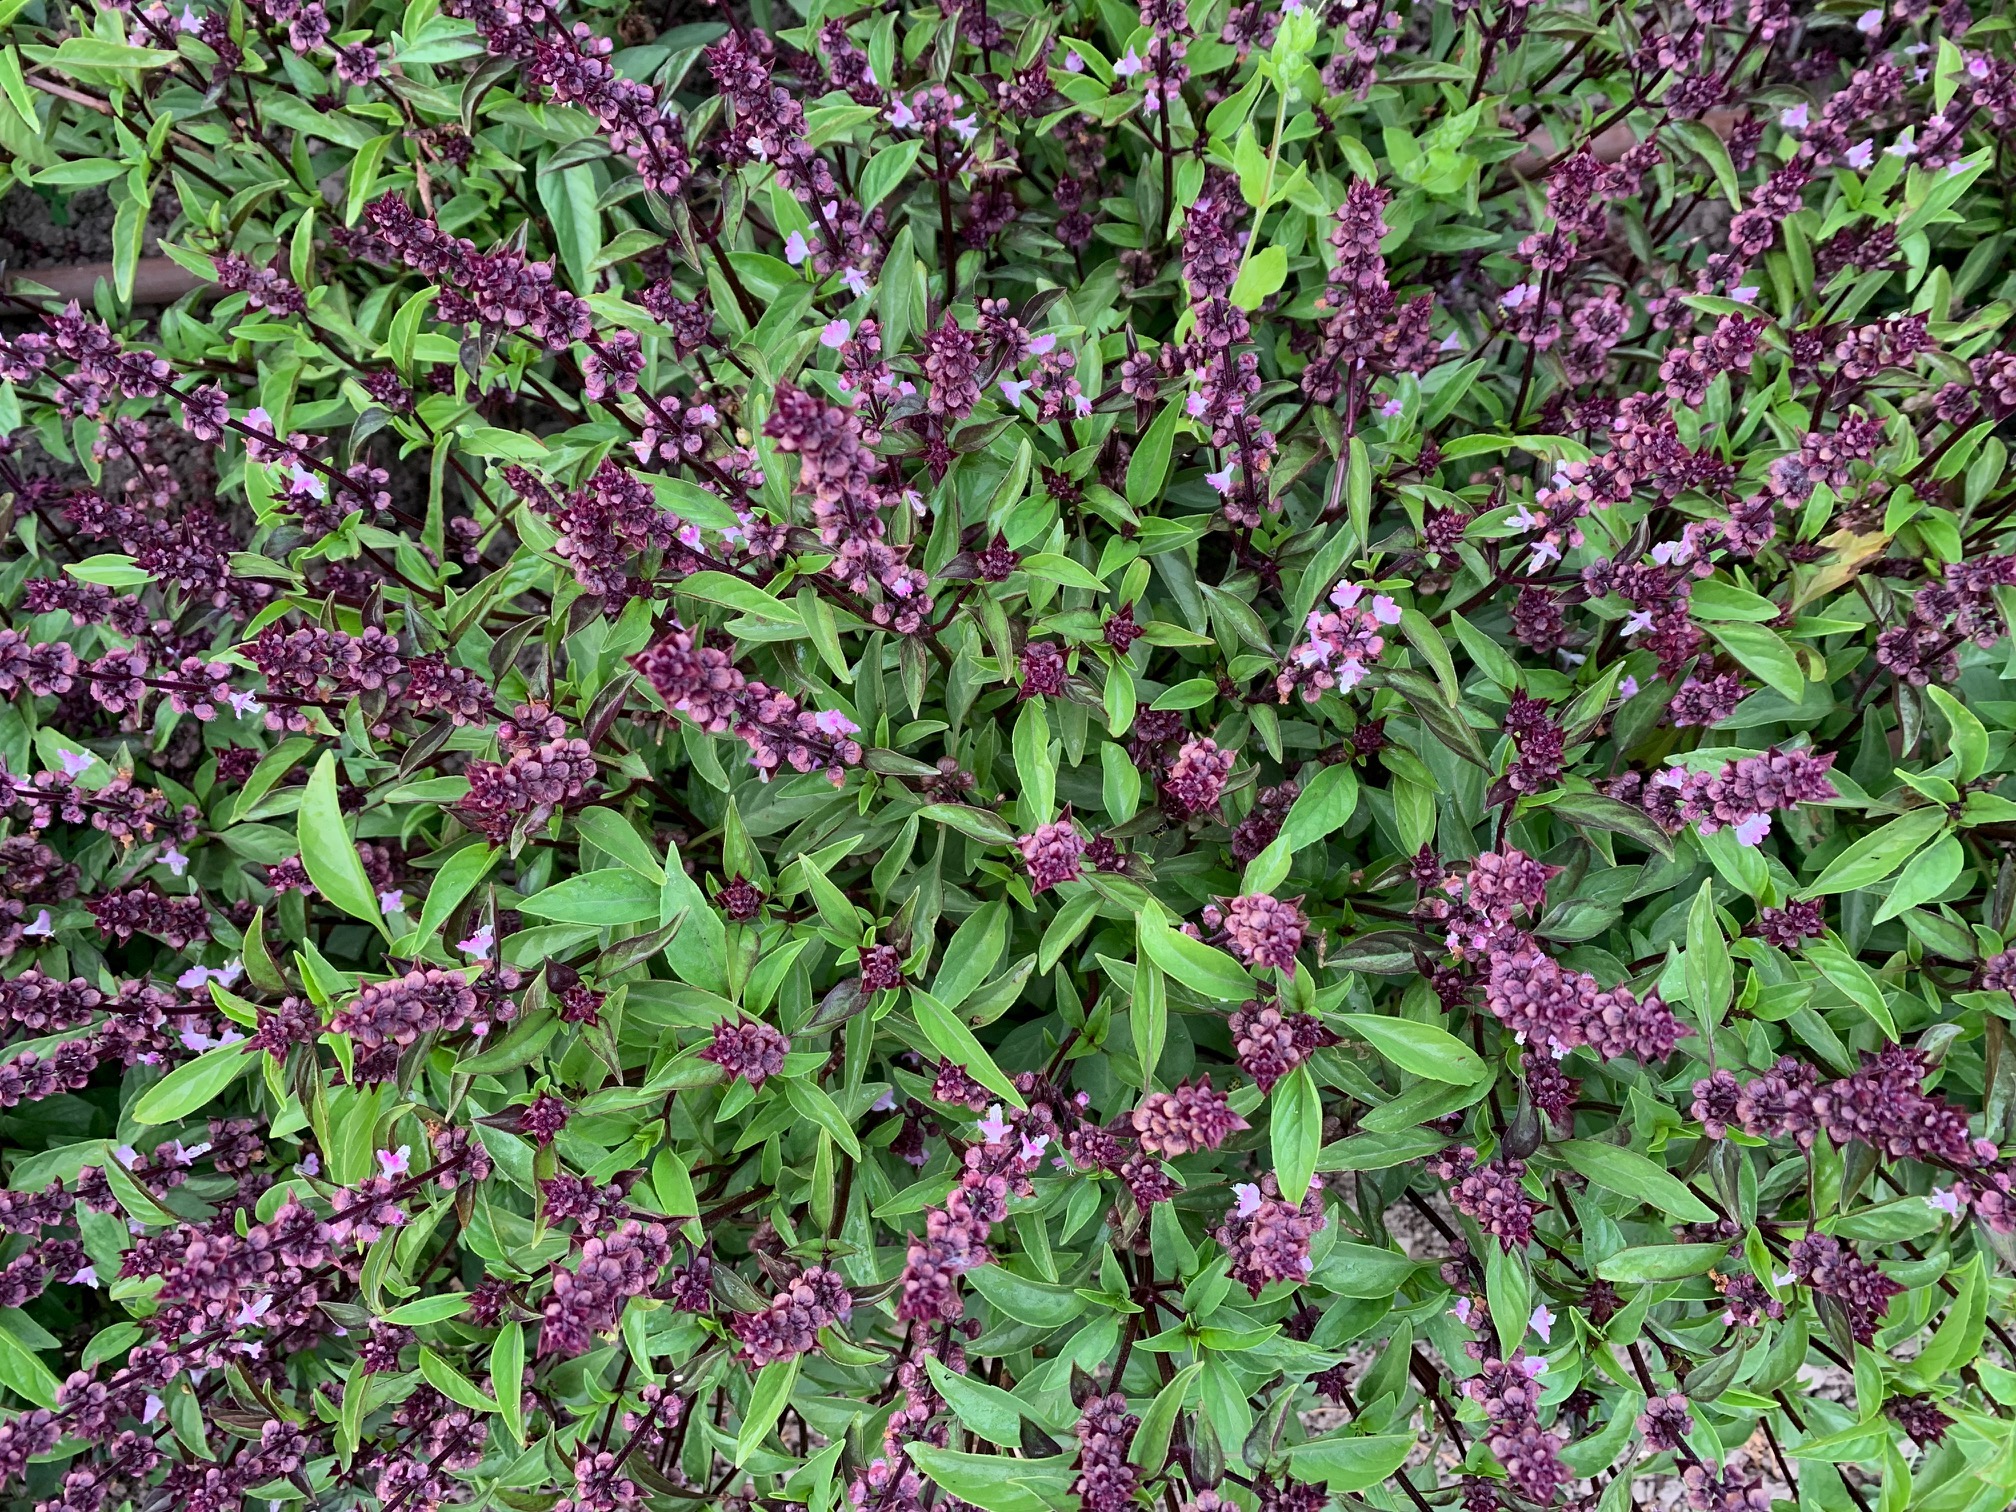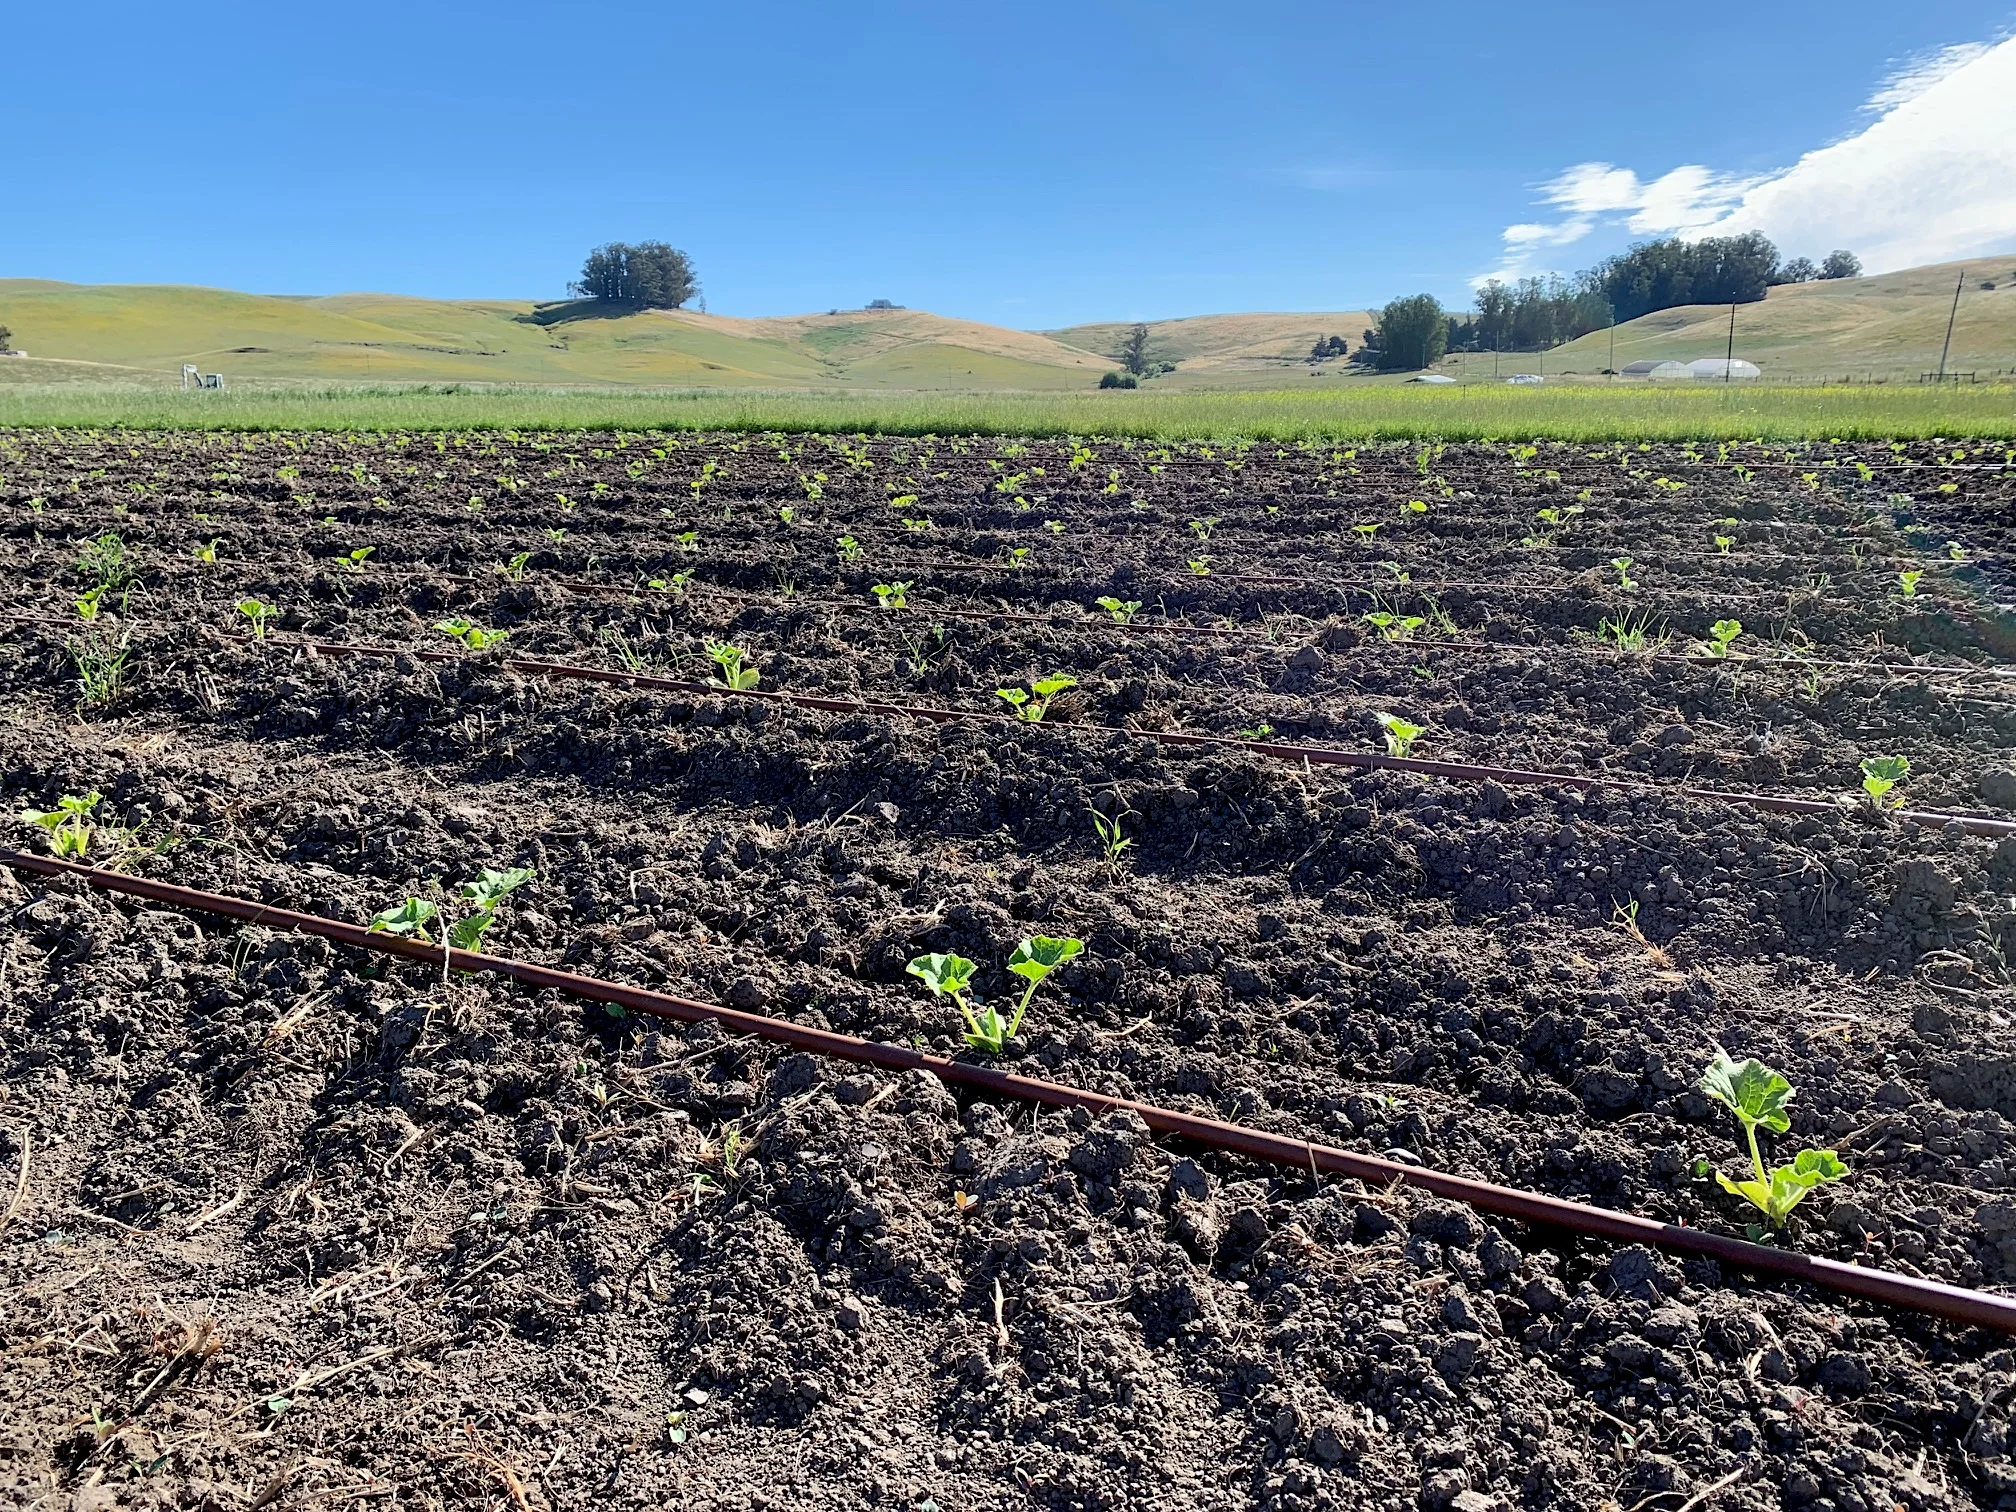

There is evidence of the frost everywhere in the fields now: most of the flowers are have died, as well as all the summer crops in the fields. The few remaining flowers are pops of color against the brown and black of the others.
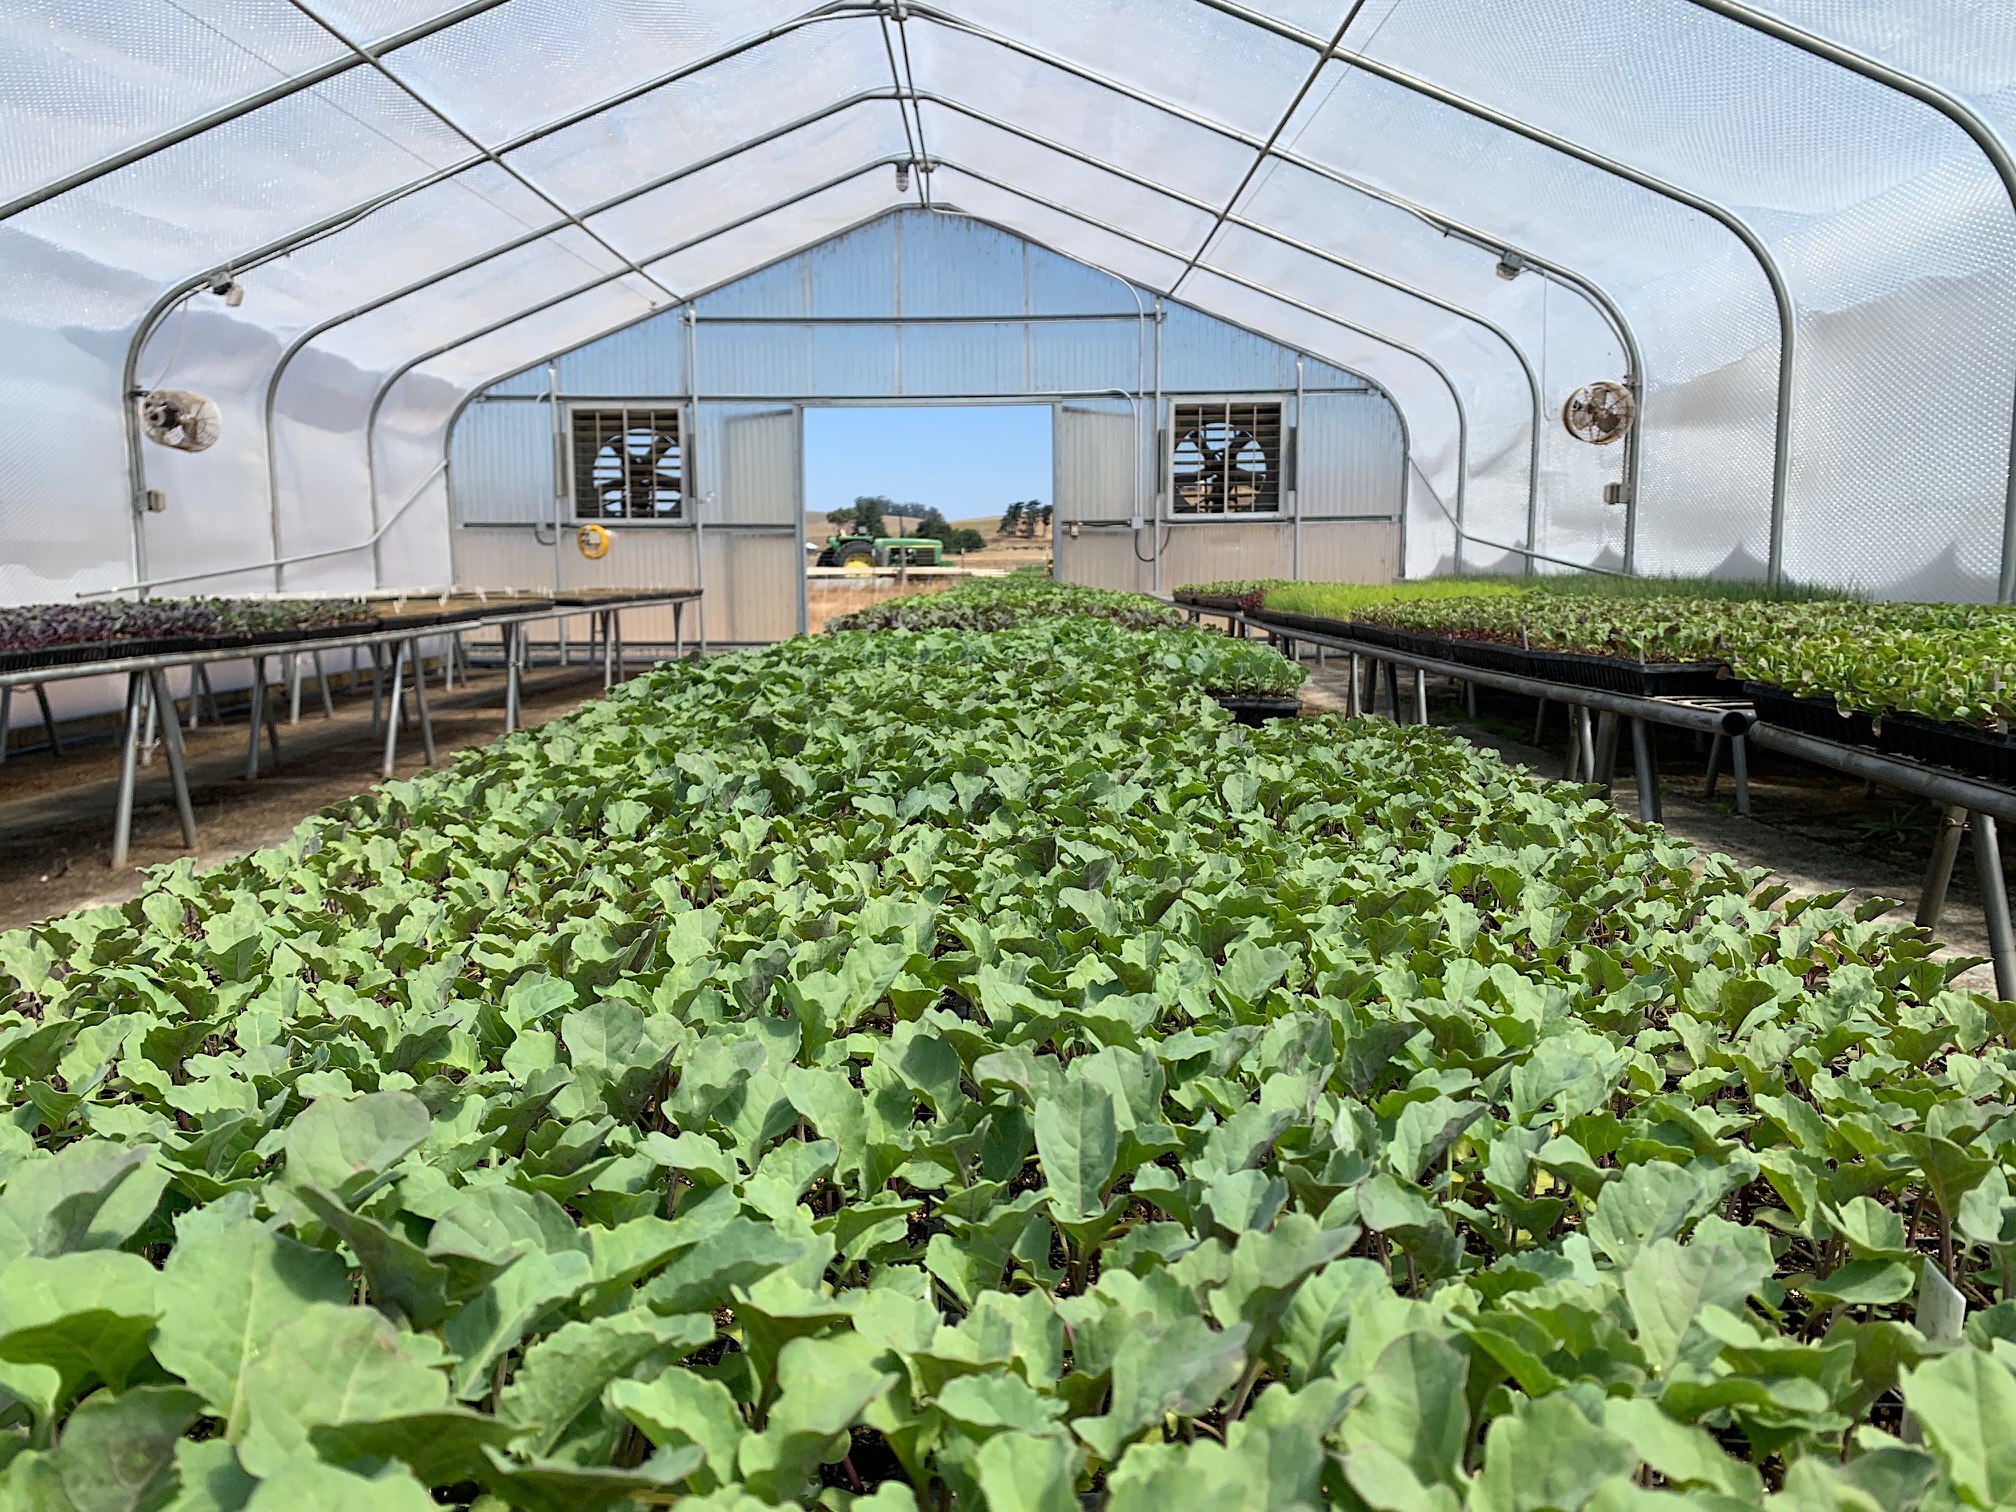
Last fall we were fortunate to have a late frost, allowing us to have summer squash and cucumbers until now. In addition, the fall crops came in beautifully. I felt as if I finally understood the timing and rhythm of the season. This year I followed the same dates almost exactly but everything seems off. It is hard to pinpoint the difference in the two years: perhaps it was the weather, perhaps the it was the small changes to the dates I made, perhaps it is unexplainable. I do find that each year I am learning more, building resiliency into our systems, and allowing us to still have plenty of beautiful food to eat.
This week’s pick list:
Fennel
Collards
Cabbage
Winter squash
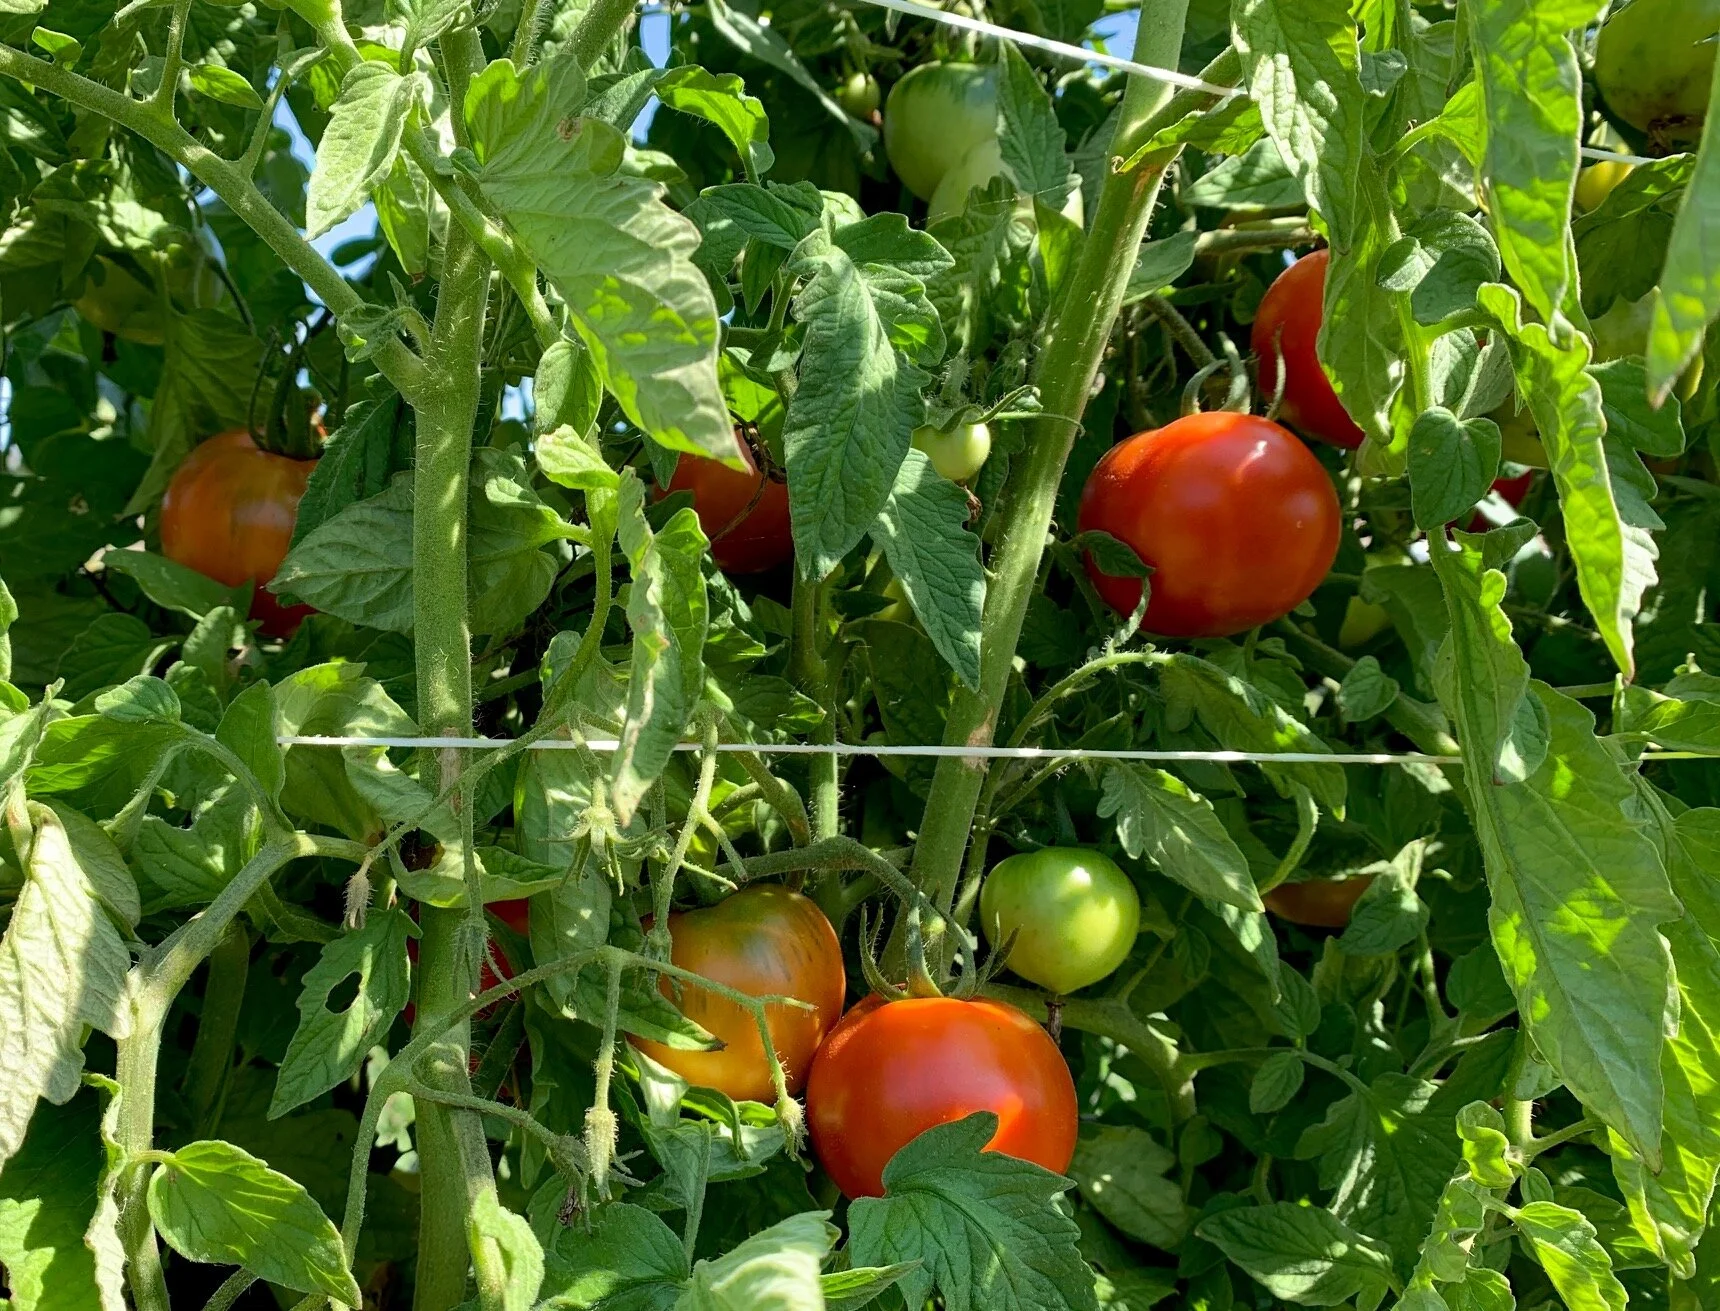
Tomatoes
Beets
Chard
Potatoes
Parsley, Cilantro, Dill
Carrots
Lettuce
Radish
Hot Pepper
Sweet Pepper
Celery
Onions
Leeks
Garlic
Pick your own strawberries
Dried tea herbs (plus fresh in the pick your own!)
Dried ground peppers
Revolution Bread

CHOCOLATE CHIP KABOCHA BREAD, from dishingupthedirt.com
Chocolate Cinnamon Swirl
3/4 cup chocolate chips
2 teaspoons ground cinnamon
2 tablespoons brown sugar
2 tablespoons maple syrup
Kabocha Batter
1 medium kabocha squash, peeled, seeded, and cut into 1/2 inch dice (about 3 1/2 cups worth but steam all the cubes and save leftovers for another use)
2 cups flour
2 teaspoons baking powder
1/2 cup +2 tablespoons extra virgin olive oil
1/2 cup maple syrup
2 tablespoons milk (can substitute a non-dairy milk here)
1/2 teaspoon sea salt
2 teaspoons vanilla extract
1 large egg, lightly beaten
Place chocolate chips, cinnamon, brown sugar, and maple syrup in a bowl; mix to combine and set aside.
Steam the squash for 10-12 minutes or until soft. Place in a medium bowl and mash with a fork. Measure out 1 1/2 cups and set aside.
Preheat the oven to 350F. Lightly oil a 9 inch loaf pan and set aside.
Sift spelt flour and baking powder into a medium bowl and stir to combine. Add olive oil, maple syrup, milk, salt, vanilla and egg to the mashed squash; whisk until smooth. Using a rubber spatula, fold flour mixture into squash mixture until just combined. Spread half of the batter over the bottom of the loaf pan. Layer the chocolate chip cinnamon mixture evenly over batter and top with remaining batter. To create a swirl, use a small rubber spatula or butter knife to zigzag back and forth through the batter (across the pan) and one stroke straight through the center of the loaf (lengthwise).
Place in the oven and bake for 45-50 minutes or until a toothpick inserted in the middle comes out clean. Remove from the oven and allow the loaf to cool for 5 minutes in the pan before turning out and placing on a wire rack.